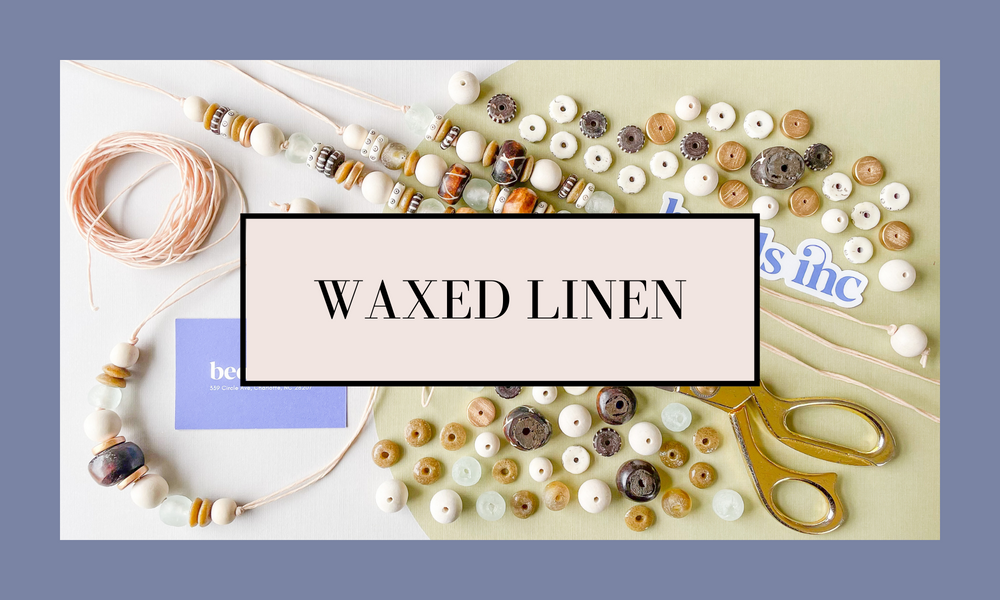

Waxed linen necklaces and bracelets are great pieces for anyone new to making their own jewelry, or anyone interested in trying a unique style of stringing! We offer several DIY Necklace Making Kits (shop here), as well as many colors and sizes of waxed linen itself. If purchasing a kit, the only other thing you'll need is a sharp pair of scissors or cutters, but if starting from scratch, you'll need to purchase both waxed linen and beads of your choice. We recommend materials like what we offer in our kits, larger wood rounds and rondelles, recycled African glass and African glass fruit loops, large bone rondelles and detailed bone discs.
We currently offer three different waxed linen necklace making kits, each one with a unique color and material combination. What's so great about waxed linen, and these kits in particular, is that waxed linen is a perfectly user-friendly, sturdy stringing alternative that requires no special tools. Everything you need to make the necklaces you love comes in these kits, you'll just need a pair of sharp scissors!
WHAT SUPPLIES DO I NEED?
to follow along exactly: The Drew Necklace Making Kit
or shop all of our necklace kits: Waxed Linen DIY Necklace Making Kits
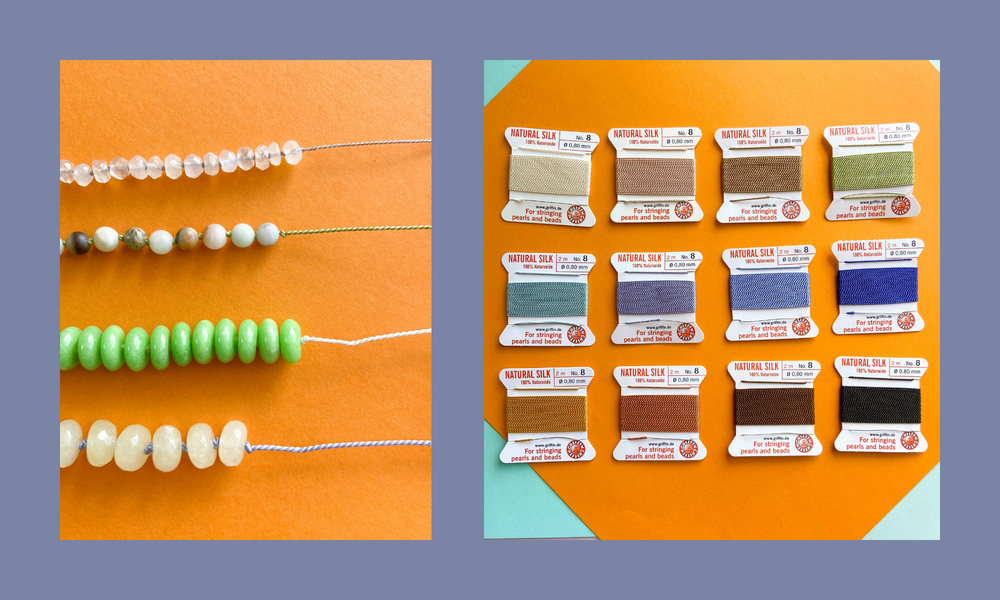
or shop waxed linen and beads of your choice, we recommend starting off with bone, wood, and African glass.
plus Designer Wire Cutters or scissors
keep scrolling for a step-by-step video tutorial about the Drew kit and how to created a double knotted waxed linen bracelet.
STEP 1: PREPARE YOUR DESIGN
whether you're using one of our kits or all of the supplies individually, the first thing you'll want to do is take a look at all of your materials and plan your designs. Then, you'll want to cut a segment of waxed linen and prepare it for stringing. To do this, you'll want to cut approximately 4-5 feet of waxed linen, fold the section in half, and create an overhanded knot about an inch or so below the loop where the linen is halved.
Next, create another knot (with the two pieces of waxed linen together) 6-8 inches away from your first knot. This knot will stop your beads from going further up the necklace.
STEP 2: STRING YOUR BEADS
In the video, Christine doesn't really plan her design ahead of time, and more so does it on the fly. What's great about our kits is that you're pretty much guaranteed a cohesive design with pre-selected beads!
String your first bead or set of beads onto BOTH of the waxed linen cords, up to the already made knot. After the first three beads, Christine creates another knot, right up against the most recently strung bead. This will keep the design in the exact place you string it. You can continue stringing beads right up to the knot you've just made, or leave a section of free space, and tie another knot before stringing the next section.
STEP 3: CREATE YOUR "CLASP"
Once you're happy with the length and design of your necklace, it's time to create your clasp.
What's great about waxed linen and these kits is that you can create a clasp out of one of your leftover beads in a way that you just can't really do with beadalon. Using a bead for a clasp also helps to fully round out the design and keep the back of the necklace interesting.
Lay your necklace down and look to see how far the loop you created in the first step is from the beads strung below it. To create a more symmetrical design, you'll want to create your beaded clasp about the same distance away from the last bead on the opposite side of where the loop has already been created.
Make note of this, and create an overhanded knot where you want your clasp to begin. String on your choice clap bead, and create another knot close against the other side of the bead. This can be an overhand knot like we've been doing, or a shoelace knot. Snip the excess.
Test out your clasp!

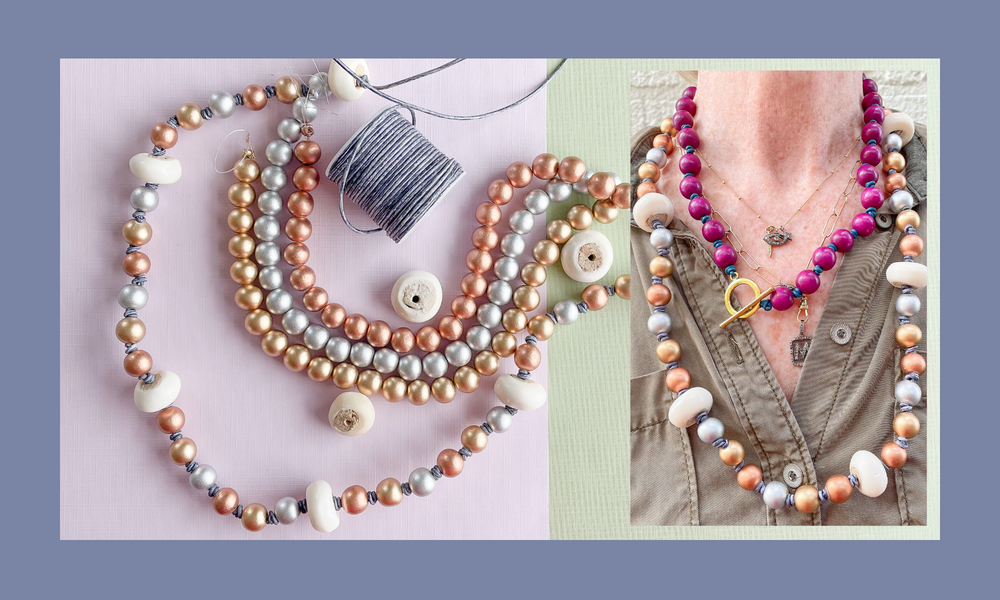
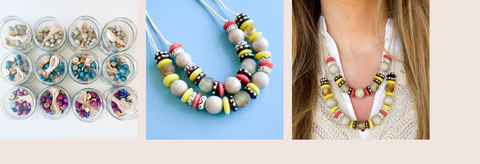
Thank you so much for purchasing your African Bead Kit from the MoPOP in Seattle, WA. We are so thrilled to be a part of this exciting exhibit! Use the below pictures for inspiration for your designs.


for an in-depth walkthrough of making waxed linen necklaces, check out the video below: